Home Steps to Install Cabinet Crown Molding Dan Harrington January 13, 2024 The Comprehensive Guide to Installing Cabinet Crown Molding Just...Read More
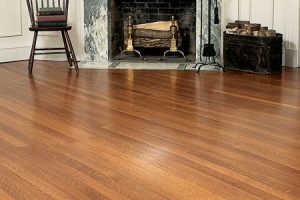
Home Providing Experiences and Insights on Brazilian Ipe Decking Dan Harrington January 8, 2024 Brazilian ipe is a hardwood that is increasingly being...Read More